How to resolve the NLA error in Azure VMs when the computer object is removed from Active Directory
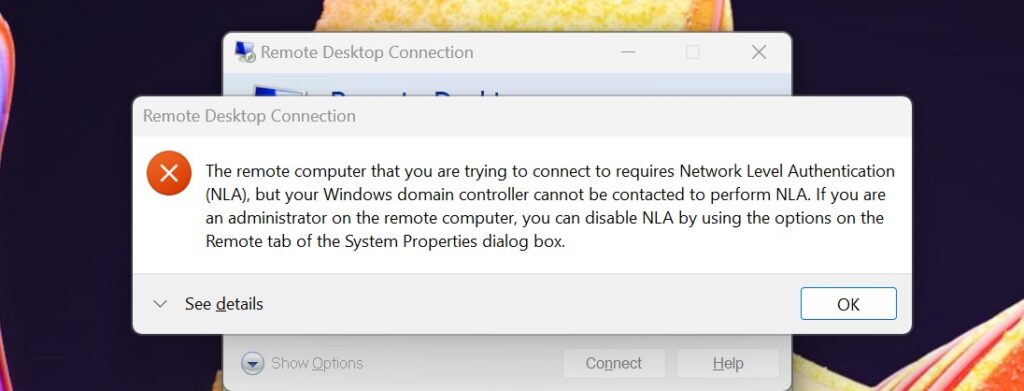
If you’re working with Azure Virtual Machines, you might encounter a situation where you see an error related to Network Level Authentication. This typically arises when your VM loses communication with the Domain Controller, the trust relationship between the VM and DC is compromised, or the VM’s computer object has been removed from the DC.

Fortunately, addressing this issue is straightforward. Here is a step-by-step guide:
- Navigate to the Azure portal.
- Locate the VM that is experiencing the NLA error.
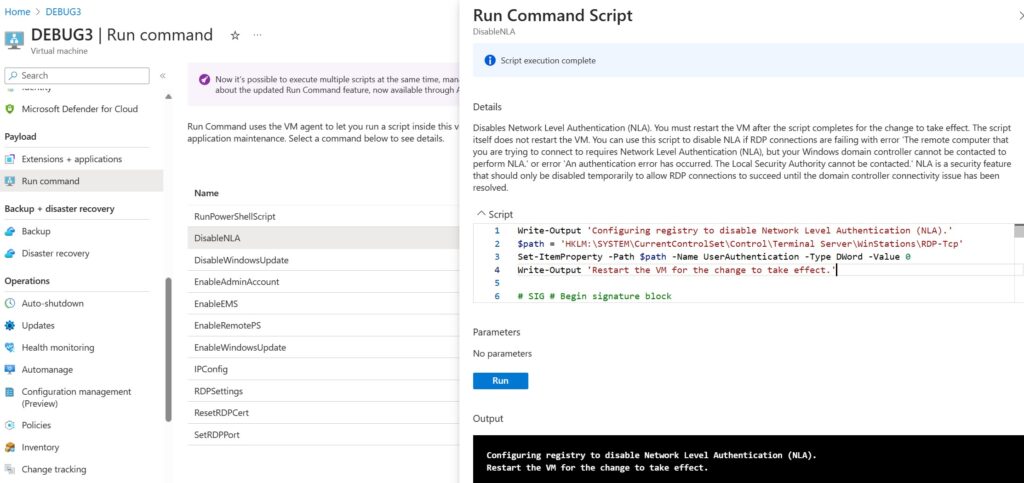
- Click Run Command.
- In the Name section, select DisableNLA. It will run the following script:
Write-Output 'Configuring registry to disable Network Level Authentication (NLA).'
$path = 'HKLM:\SYSTEM\CurrentControlSet\Control\Terminal Server\WinStations\RDP-Tcp'
Set-ItemProperty -Path $path -Name UserAuthentication -Type DWord -Value 0
Write-Output 'Restart the VM for the change to take effect.'

Although I’ve observed that the changes often take effect without a reboot, Microsoft recommends restarting the VM. So, it’s a good practice to follow their advice.
Then:
- Connect to the VM using Remote Desktop Protocol (RDP).
- Manually remove the VM from the domain.
- Re-add the VM to the domain.

After that, you’ll need to restore the NLA config. Either from the same Run Command session, or from within machine, Run:
Write-Output 'Configuring registry to enable Network Level Authentication (NLA).'
$path = 'HKLM:\SYSTEM\CurrentControlSet\Control\Terminal Server\WinStations\RDP-Tcp'
Set-ItemProperty -Path $path -Name UserAuthentication -Type DWord -Value 1
By following these steps, you should be able to resolve the NLA error and restore the normal functioning of your Azure VM.