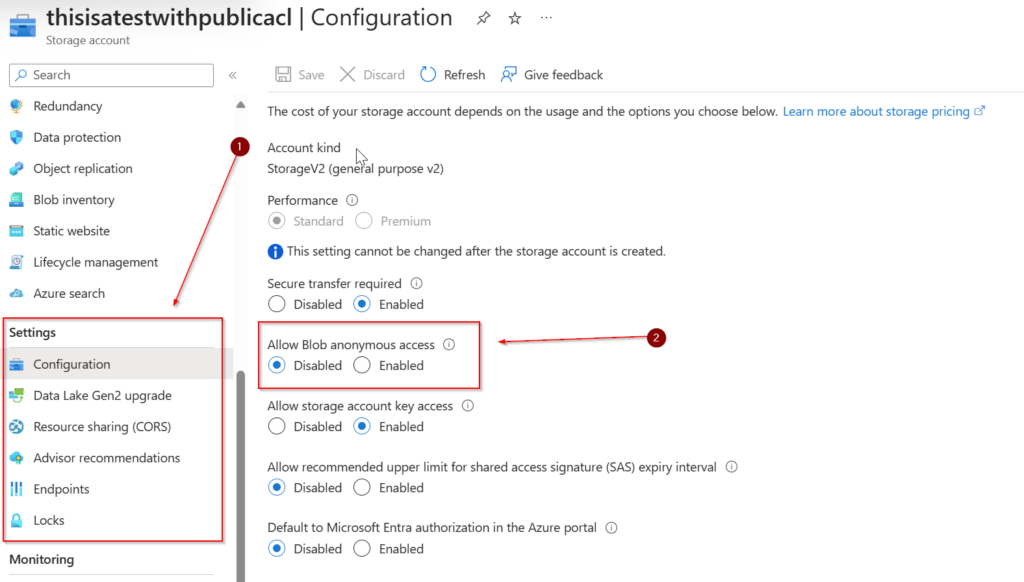
Step 1: Configure Blob Anonymous Access
To begin, navigate to your Azure Storage account’s configuration blade. Here, you’ll find an option to enable blob anonymous access. This is the first and fundamental step in making your blobs publicly accessible.
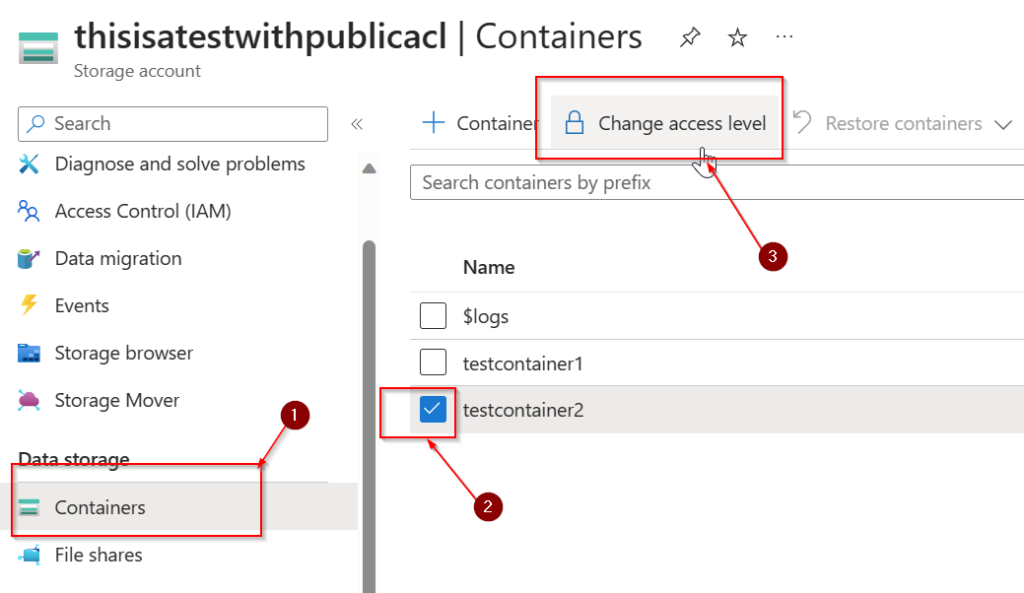
Step 2: Adjust Container Access Level
With blob anonymous access enabled, the next step involves setting the appropriate access level on your container. Choose the container you wish to modify and proceed to change its access level settings.
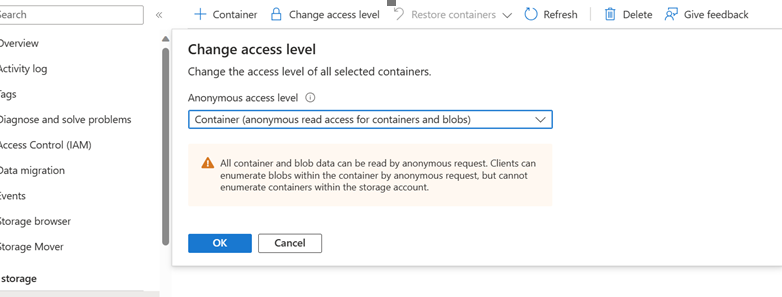
Step 3: Select the Access Level
Within the container’s settings, select “Container” as the access level. This will allow public read access for both the container and the blobs within it.
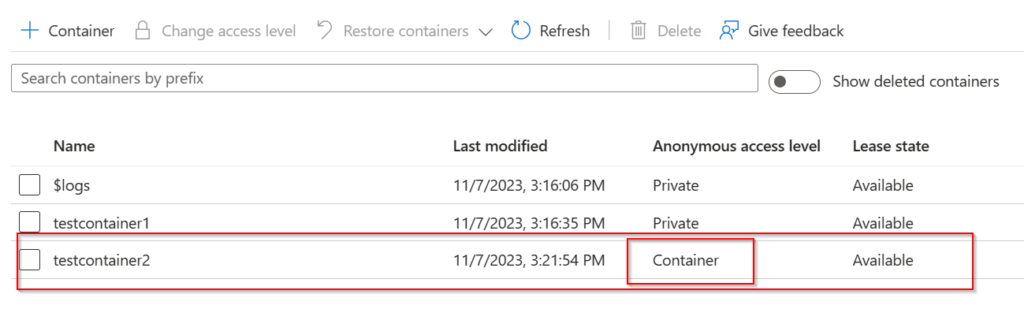
Step 4: Confirm the Access Level Change
After setting the access level to “Container,” you should see an indication that the access level on your container has changed, confirming that the blobs are now accessible anonymously.
Step 5: Access Files Anonymously
At this stage, anonymous users can access files stored in the container without the need for a Shared Access Signature token or any other form of authentication. This facilitates ease of access for anyone who needs to retrieve the files.
A Word of Caution
While enabling anonymous access can be beneficial for sharing resources, it’s important to do so with caution. Here are two critical warnings from the official Azure documentation to keep in mind:
*“When a container is configured for anonymous access, any client can read data in that container. Anonymous access presents a potential security risk, so if your scenario does not require it, we recommend that you remediate anonymous access for the storage account.”
“Microsoft recommends against permitting anonymous access to blob data in your storage account.”*