Hosting a Custom ChatGPT Web UI with Your Own API Keys
With the increasing popularity of ChatGPT, many IT enthusiasts are exploring ways to host their custom ChatGPT web frontends. There are several options available ranging from Microsoft’s “Azure Open AI at scale” project to various third-party ones. However, for this exercise I’ve picked a 3rd party one, as it is lightweight, doesn’t require any extra components such as Microsoft Entra ID or databases to function, and it is very easy to deploy.
This article will walk you through the process of setting up your own ChatGPT web UI using one of these publicly available GitHub resources, specifically designed for Azure Open AI API:
https://github.com/linjungz/azure-chatgpt-ui
If your flavor is OpenAI API, please see this project instead:
https://github.com/Yidadaa/ChatGPT-Next-Web
For this tutorial, we’ll utilize an Ubuntu 22.04 Always Free VM, hosted on Oracle Cloud’s Free tier. This VM offers 1 vCPU and 1GB RAM. Once the project is compiled, it will require approximately 700MB of disk space.
Step-by-Step Guide:
Start by updating and upgrading your operating system.
apt-get update apt-get upgrade
If required, reboot your system.
Installing NodeJS:
a. Begin by installing the necessary certificates and dependencies:
sudo apt-get install -y ca-certificates curl gnupgb. Create the required directories:
sudo mkdir -p /etc/apt/keyringsc. Fetch the GPG key for the NodeSource repository:
curl -fsSL https://deb.nodesource.com/gpgkey/nodesource-repo.gpg.key | sudo gpg --dearmor -o /etc/apt/keyrings/nodesource.gpgd. Define the Node major version and add the repository to your source list:
NODE_MAJOR=20
echo "deb [signed-by=/etc/apt/keyrings/nodesource.gpg] https://deb.nodesource.com/node_$NODE_MAJOR.x nodistro main" | sudo tee /etc/apt/sources.list.d/nodesource.list
e. Update your package lists and install NodeJS:
sudo apt-get update
sudo apt-get install nodejs -y
f. Verify the NodeJS installation by checking its version:
node -vInstalling Yarn:
a. Update the package lists and install Yarn:
sudo apt update && sudo apt install yarnb. Add Yarn’s GPG key:
curl -sL https://dl.yarnpkg.com/debian/pubkey.gpg | sudo apt-key add -c. Add Yarn’s repository to your sources list and install it:
echo "deb https://dl.yarnpkg.com/debian/ stable main" | sudo tee /etc/apt/sources.list.d/yarn.list
sudo apt-get update
sudo apt install yarn
Setting Up the Project:
a. Clone the desired repository from GitHub (OpenAI or Azure OpenAI flavor), unpack it and copy contents to your server. On the server, navigate to the unpacked directory. For this example, I’ve selected
/app/chat.b. Install the required packages with:
yarn installc. Create a configuration file using nano:
nano .env.locald. Populate the configuration file with your details:
AZURE_OPENAI_API_BASE=https://openaiazureus.openai.azure.com
OPENAI_API_KEY=YOURAWESOMEKEY
AZURE_OPENAI_DEPLOYMENT_NAME=YOURAWESOMEDEPLOYMENT
NEXT_PUBLIC_TITLE=CustomGPT
NEXT_PUBLIC_SUB_TITLE="So smart, much wow!"
e. Build and start the project:
yarn build && yarn startf. Take a break and grab a coffee! Allow the application some time to build. Ensure that there are no errors during the build process.
Final Touches:
- To make the app more user-friendly and secure, lets address the following:
- The application currently starts on port 3000. To improve usability and secure it with SSL, we can put it behind NGINX.
- To avoid manually starting the app every time, we can set it up as a systemd service.
- To make the app more user-friendly and secure, lets address the following:
So let’s do it.
1. Installing Nginx
To start, install Nginx, then enable and start the service:
sudo apt install nginx
sudo systemctl start nginx
sudo systemctl enable nginx
2. Generating a Self-Signed SSL Certificate
For secure communication, you’ll need an SSL certificate. While self-signed certificates are not ideal for public-facing web apps due to browser trust issues, they can work well for personal or internal projects. But with self-signed cert in place, you can also put this website behind free Cloudflare service, and enjoy free managed trusted SSL certificate Cloudflare provides.
Begin by creating an SSL directory for Nginx:
mkdir /etc/nginx/ssl/
Then, generate the self-signed certificate and key:
sudo openssl req -x509 -nodes -days 3650 -newkey rsa:2048 -keyout /etc/nginx/ssl/nginx.key -out /etc/nginx/ssl/nginx.crt
3. Configuring Nginx for SSL and Proxy Settings
Edit the default Nginx configuration:
sudo nano /etc/nginx/sites-available/default
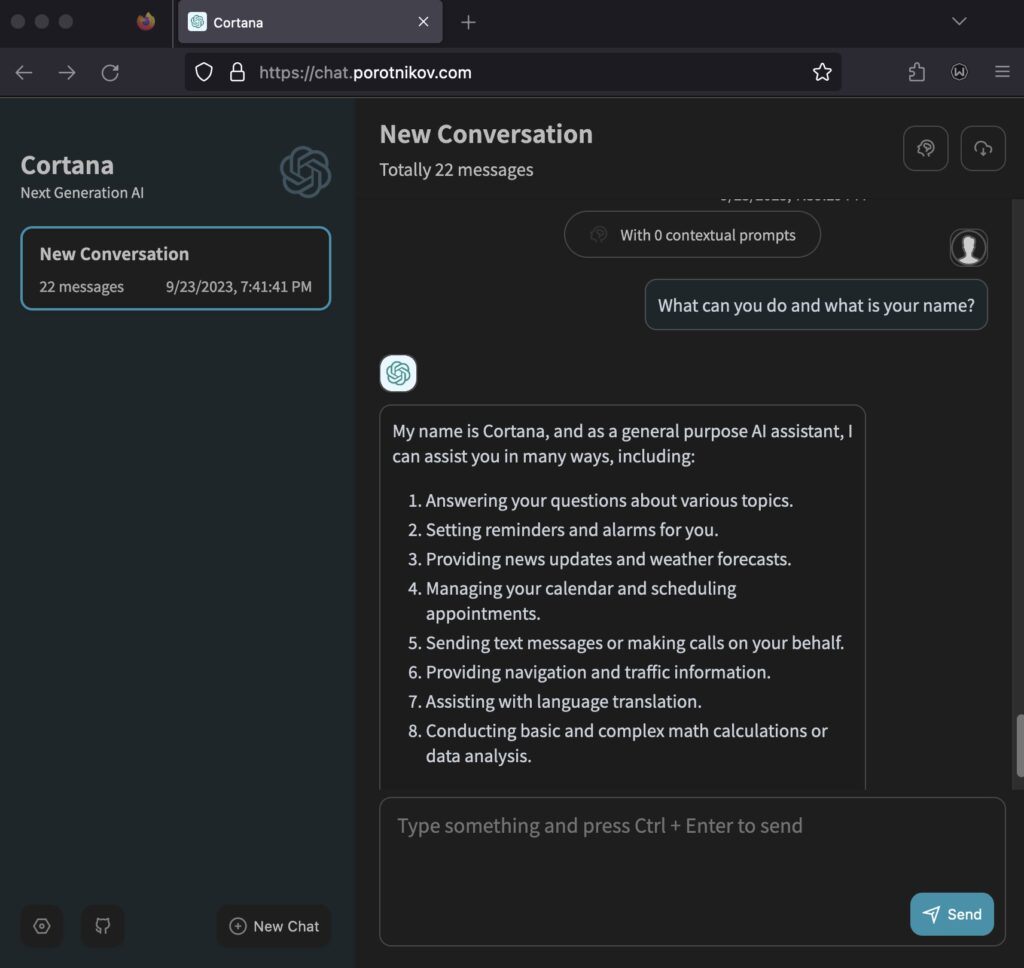
Replace the server section with this configuration, replacing chat.porotnikov.com with your own hostname.
server {
    listen 80;
    server_name chat.porotnikov.com;
    return 301 https://$host$request_uri;
}

server {
    listen 443 ssl;
    server_name chat.porotnikov.com;

    ssl_certificate /etc/nginx/ssl/nginx.crt;
    ssl_certificate_key /etc/nginx/ssl/nginx.key;

    location / {
        proxy_pass http://localhost:3000;
        proxy_set_header Host $host;
        proxy_set_header X-Real-IP $remote_addr;
        proxy_set_header X-Forwarded-For $proxy_add_x_forwarded_for;
        proxy_set_header X-Forwarded-Proto $scheme;
    }
}
Finally, restart Nginx to apply the changes and check its status:
sudo systemctl restart nginx
sudo systemctl status nginx
Running the GPT App as a Service:
By turning your GPT app into a service, you’ll ensure that it runs automatically upon system boot, enhancing reliability.
1. Creating the Service File
Start by crafting a new service file:
sudo nano /etc/systemd/system/chatapp.service
2. Defining the Service Configuration
Inside the service file, add the following:
[Unit]
Description=Chat Application Service
After=network.target

[Service]
User=your_username
WorkingDirectory=/app/chat
ExecStart=/usr/bin/yarn start
Restart=always
RestartSec=3

[Install]
WantedBy=multi-user.target
Replace your_username with the actual username under which you want the service to operate.
3. Activating the Service
Once the service file is ready, refresh systemd’s knowledge of available services:
sudo systemctl daemon-reload
Then, enable the service to automatically start upon boot:
sudo systemctl enable chatapp.service
4. Running the Service
Kick off the service immediately with:
sudo systemctl start chatapp.service
You can also verify its status with:
sudo systemctl status chatapp.service
Note: If you ever modify the chatapp.service file in the future, you must reload systemd’s configuration using sudo systemctl daemon-reload prior to restarting the service.
With these steps complete, your GPT application is not only accessible via a secure Nginx setup, but also runs reliably as a service.
Final words
If you believe that running a web app which accesses the API directly is cheaper than a ChatGPT plus subscription, you might want to reconsider. The API operates based on tokens, and it’s quite easy to exceed $20 USD, even without factoring in VPS/Server costs, such as the Oracle free tier.